
Kickstarter live case study. Step 6: Final design for production
I’m at the point now where my latest Kickstarter campaign has finished and I’m waiting for the funding to arrive.
The next steps are for me to finalise the production plan for the product and to send out reward surveys to collect shipping information from my backers.
Making is the easy bit
As I discussed in a post a couple of weeks ago, making is actually the easy bit.
That isn’t to say that the whole process is easy, otherwise everyone would do it. What I really meant is that it’s not difficult in the way that most people think.
In my experience, most people I speak to get stuck on the question: “how on earth would I know how to make a [insert product type here]?”
The point is that you almost never have to actually make the product yourself. You pass on any practical challenges of making something onto people who know exactly what they’re doing.
So the difficult bit becomes finding out how to make something and where to get it made. And about understanding the scope and constraints of your manufacturing partners.
(In fact, by far the single most difficult part about the whole process is getting other people to care about your ideas. But that’s a subject for another day.)
Making the world’s smallest playing cards
For this particular project of mine I’m making the world’s smallest playing cards. This has proved to be much harder than making regular playing cards, which is what my previous Kickstarter projects involved.
Again, people with an idea for a novel deck of playing cards may ask themselves: how on earth would I know how to make a deck of playing cards?
The simplified answer is that you find a playing card manufacturer, they send you PDF templates, you send back the designs and then they print them.
Idea > PDFs > half a ton of playing cardsMy latest tiny cards were too small to get made in the normal way that full-size playing cards are made. This was for two reasons: a) regular playing card stock would be too thick for cards so small, and b) they are too small to be cut in the way normal playing cards are.
After speaking to a company in the UK who I’d worked with before on regular playing cards, we figured out together that they could print my tiny cards on a lighter card stock.
But there was no way they’d be able to cut them so I found a separate company that specialises in laser cutting paper.
For both of these parts of the puzzle, I worked with my manufacturing partners to test and prototype what we were planning to do.
Although I’ve never made anything quite like this (and in fact no one in the world has, which is literally the point!) I’ve been able to work with partners to help me turn my idea into a real product.
Design steps
There are some similarities in the design process for these cards compared with “normal” cards, and also some unique challenges.
The things I need to do are:
1. Design the front and back of the playing cards.
There are no templates here. I’ve effectively had to create my own templates based on my own criteria for the size of the cards, and also in discussion with the place that will laser cut the cards.

Final designs showing laser alignment marks2. Design the tuck box.
For the tuck box I’ve decided to use a normal-size playing card box that will have a custom insert to hold the tiny cards.
I did this for a couple of reasons. Firstly, scaling down the packaging to the tininess of the playing cards would result in a ridiculously impractical little box that would be no fun for anyone.

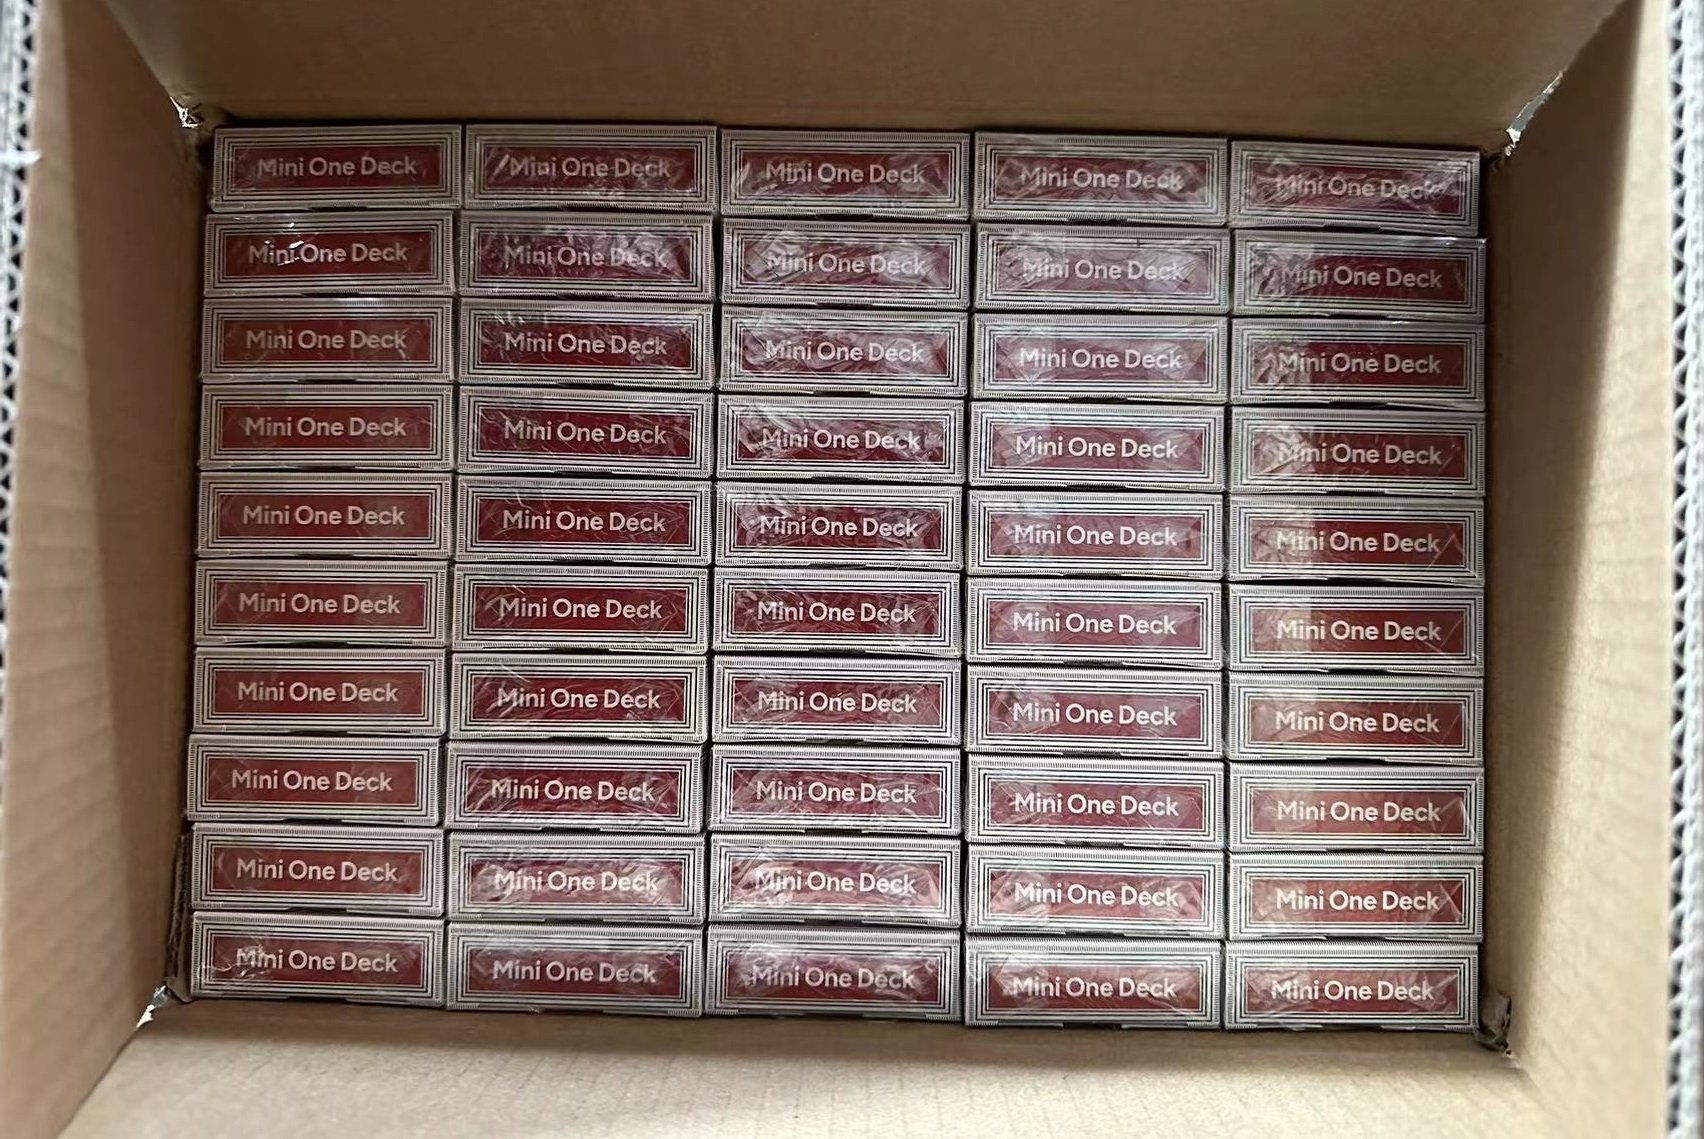
A box this size would be crazySecondly, and equally importantly, I already know how to get regular playing card boxes made. The place printing the card sheets will also make the boxes for me.
3. For the rest of the packaging I’ve found a supplier that makes really small little tin cases. The cards will go inside a tiny envelope, inside these tin boxes, inside an insert that slides into the regular-size playing card tuck box.

Tiny tin boxes from Tinware Direct in the UKA new challenge
There are lots of moving parts when it comes to turning this idea into a real product. But no individual part of the problem is especially difficult - it’s just a question of breaking it down into manageable chunks.
This is the first time I’ve done every part of the design work myself so it’s a new challenge for me. In the past I’ve always been involved in the whole process of design, from concept through to execution, but I’ve worked with professional graphic designers to finalise everything for print.
Being a relatively low-budget project compared to my previous ones it made sense to do as much as possible myself. I also think I felt more comfortable doing the work on this project because there’s no precedent for such small cards so there are no rules for me to break!
Some specific challenges have included turning the court card designs into simplified pixelated versions of Jacks, Queens and Kings. And creating a custom “Q” and a custom “10” that wouldn’t take up too much space!

My designs for the court cardsThere’s a lot of repetition when it comes to laying out playing card graphics, and getting everything lined up is critical, especially when you’re working to a fraction of a millimetre.
As an inexperienced graphic designer, I’ve definitely taken longer than a pro would’ve done. There are undoubtedly more efficient workflows when it comes to setting up layers and getting everything lined up, but I got by. It’s been a really fun and satisfying process though, and I’ve learned a lot.
I’ve now finished these designs and placed the final order for the cards and box. By this time next week I should have the printed sheets with the card designs on and be ready to send them off to get laser cut.
In the meantime I will also send out reward surveys to my backers so that I have all the shipping addresses ready for when I have everything made.